How to Take Attendance
There are two ways to take attendance through WrestlingIQ:
- Classic roll-call style, a coach marks athletes attendance
- Parent/athlete self check in with the WrestlingIQ Kiosk
Getting started with attendance - rosters & calendar events
Before you are able to take attendance, you will need to create an event on the calendar and link a new or existing a roster. Rosters will be important to ensure that the correct group of wrestlers appears on your attendance list. Here is an example where the 'Freestyle - Beginners' roster is added to the relevant practice.

Select the event on the calendar
You can now see the pre-populated attendance list that is based on the linked roster.

OPTION 1: Classic Roll-Call
While logged into WrestlingIQ.com through a web browser, coaches can view the desired practice (as seen above) and indicate attendance status for each athlete. Here they will be able to mark athletes as present or absent (excused, unexcused, late, injured, other)
Note: only coaches/admins have the capability to take attendance.

Filtering athletes by roster:
You also have the option of filtering by roster on the attendance page itself by using the dropdown at the top of the screen. Any rosters you have selected will automatically apply as a filter to the attendance tab:

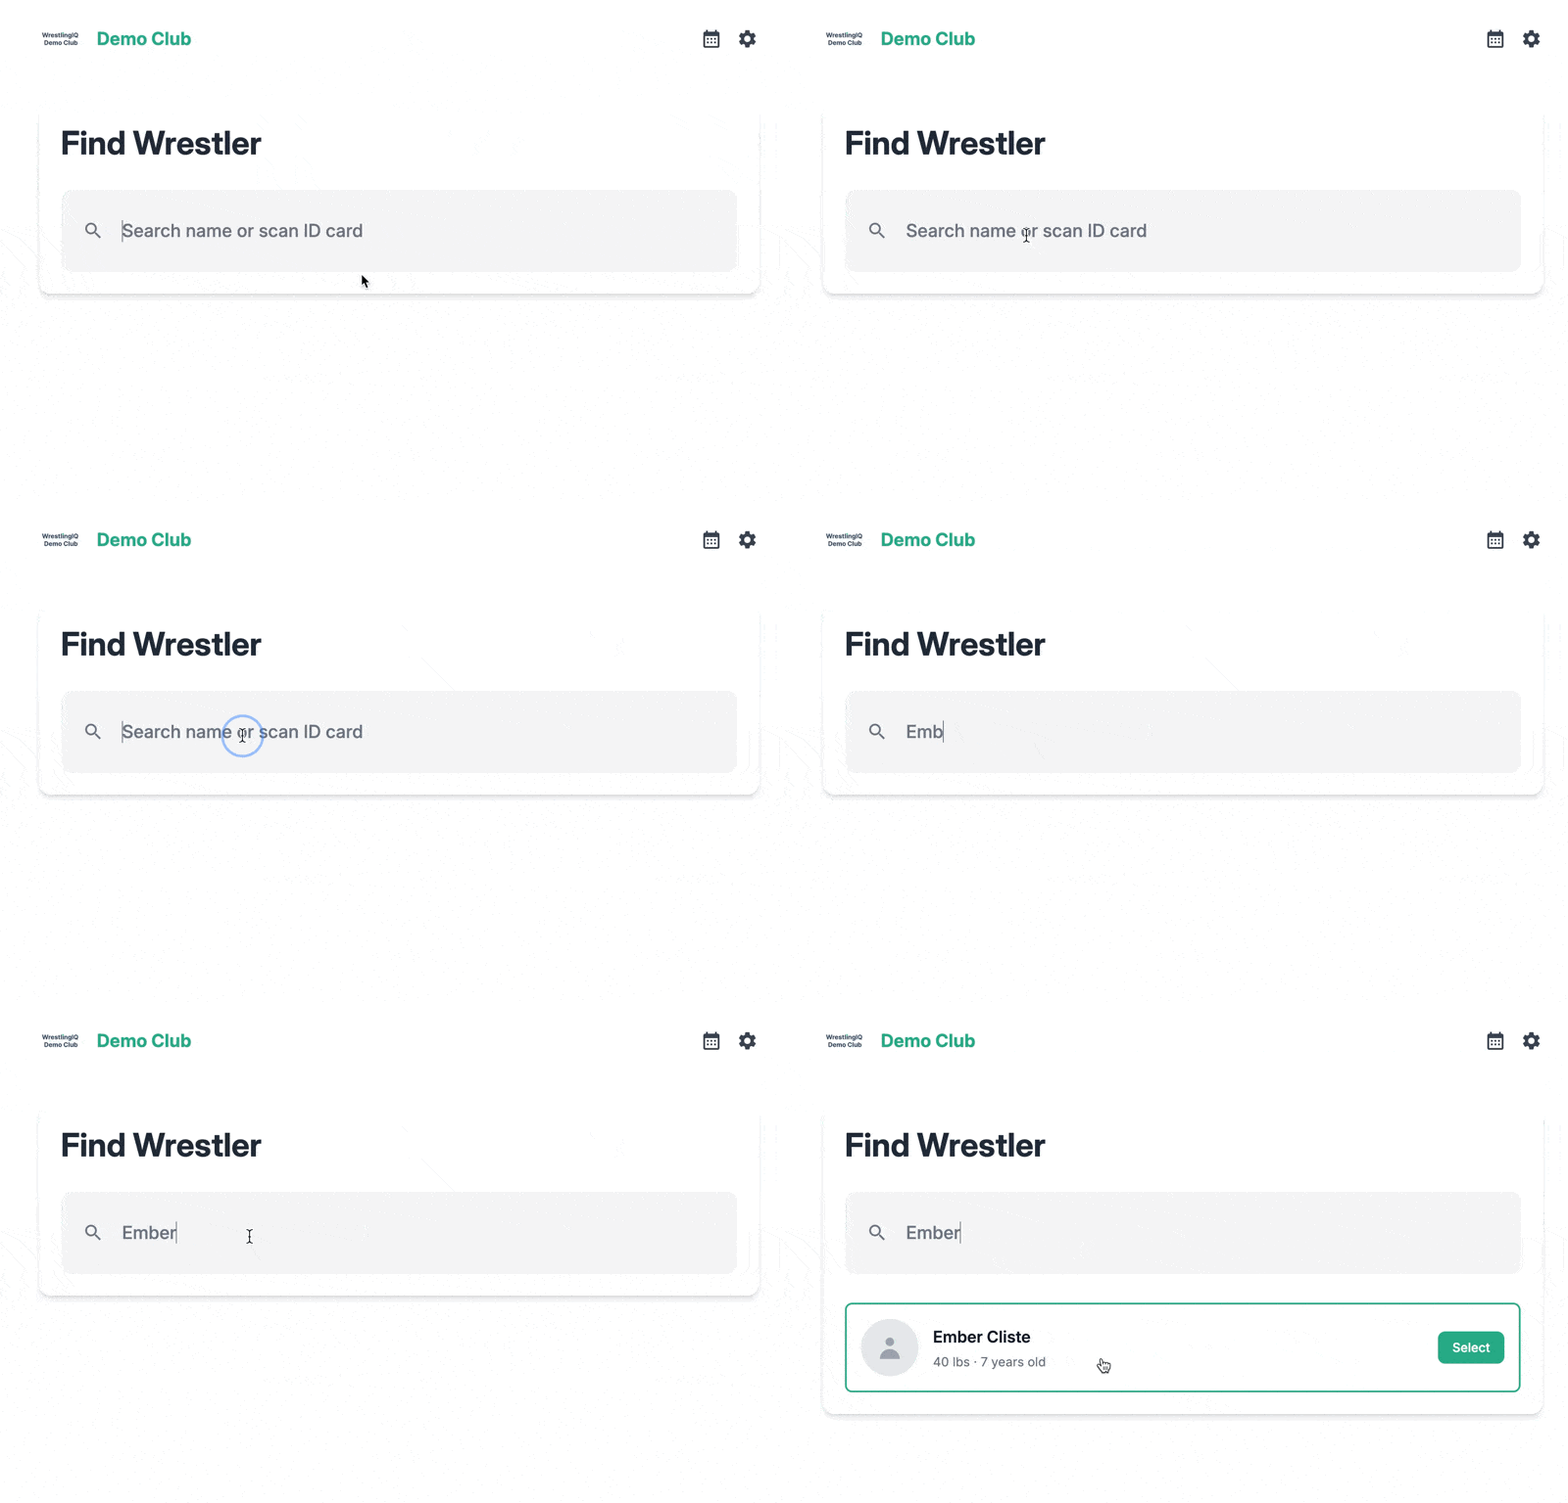
OPTION 2: Parent/athlete self check in with the WrestlingIQ Kiosk
The WrestlingIQ Kiosk lets wrestlers check in at the door with their name or their WrestlingIQ ID card.

Visit this help article to learn more about using the WrestlingIQ Kiosk.
Attendance reports
Reports on attendance can be found under the 'Reports' tab. Reports on attendance include:
Check-In Feed: Shows all check-ins sorted by time including the wrestler name, event checked in for, any passes used (i.e. trial, drop-in), and any rosters they were on or active subscriptions at the time of check-in.
Practice Attendance: Summary of practice attendance - present, excused, unexcused, late, injured, other - per wrestler, over selected dates
Last Practice Attended: Days since last practice attended and date of last practice per wrestler
Attendance Extended (with questions): Practice attendance report plus any responses to questions asked at check in time.

Reports on individual events can also be found directly within the event
